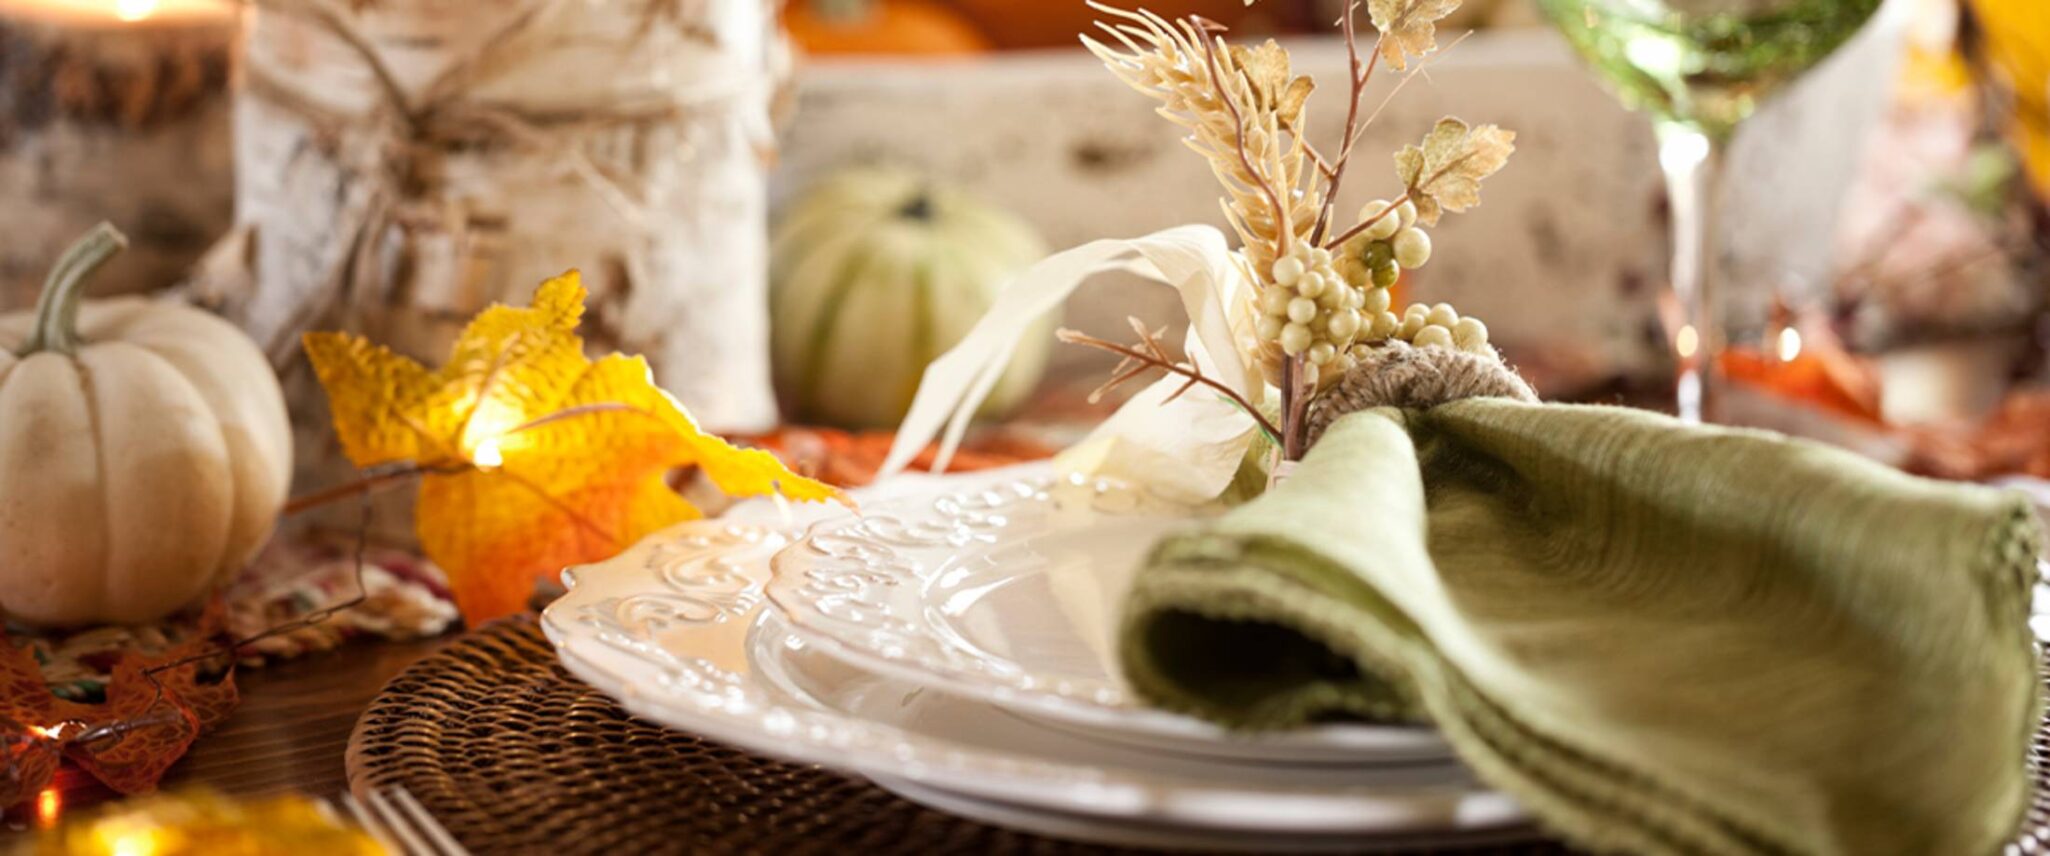
There are so many reasons to celebrate fall. Even in a warm climate like Florida’s, the air does feel cooler and the leaves do change their colors. Locals and visitors alike enjoy a break from heat and humidity, fall festivals abound, and Thanksgiving preparations begin. Bringing the feeling of fall indoors is part of the fun, and we’ve prepared a list of Thanksgiving crafts to do just that. We hope these 15 DIY projects inspire you to create meaningful memories with your family and friends. And while Thanksgiving decorations are traditionally gold, yellow, red and brown, don’t be afraid to strike out with a theme of your own. Try whitewashed pumpkins and dried gourds in
neutral tones, vintage
blue-and-white dinnerware teamed with greenery, or
mix and match plaids for a fresh take on Thanksgiving. Now, gather your supplies and get ready to get crafty.
Thanksgiving Crafts for Seniors
The Gratitude Centerpiece
Gather long branches from the garden or buy them at a craft store. Cut or punch out leaf shapes from card stock in autumnal tones: gold, yellow, red and brown. Add a small hole to each leaf with a hole punch. Arrange the branches in a tall, rustic container such as a copper can or earthenware vase. Invite your guests to choose a leaf and write down what they’re thankful for. Tie each leaf to the branches with a piece of twine. You’ll find leaf templates
here.
An A-Maizing Centerpiece
Coat a dozen or so cobs of dried corn with metallic gold and copper spray paint. Wait till dry and use hot glue to attach cobs vertically to the side of a 6-inch cylindrical vase. Tie gold raffia around the corn cobs. Fill the vase with floral foam and add a mass of seasonal flowers and greenery, letting it spill out of the vase. Dahlias, zinnias, bittersweet all look good together. Here’s what the
finished piece looks like.
Easy-as-Pie Pumpkin Vase
Remove the top quarter of a small pumpkin and hollow it out. Fill it with floral foam and a profusion of fall-colored flowers. Place your pumpkins on a stack of two or three wood rounds (available at most craft stores) and surround it with acorns, squash, oak leaves and other seasonal accents. Why not try blue pumpkins and rich red flowers for a
fun twist?
Fall Glow
Add a natural ambience to your home with candlelight. Cut a strip of burlap and wrap it around a scented fall-colored candle, attaching the fabric with a dab of craft glue. Layer a simple Thanksgiving message or icon on plain cardstock on top of the burlap, and tie everything in place with twine. You’ll find more details
here.
Pumpkin Place Cards
This Thanksgiving craft idea is a fun way to dress up a place setting by using the mini pumpkins sold in stores this time of year. Choose similarly sized pumpkins with stems. Cut or punch leaf shapes out of card stock in fall colors, adding a small hole at one end. Add your guest’s name to the leaf and tie it to the pumpkin stem. You can also use apples or red pears instead of pumpkins.
Speckled Fall Leaves
Create pretty fall leaves to scatter over your table that you can use again next year. Draw leaf shapes in varying sizes on coffee filters. Using watercolor paints, cover the entire leaf shape with color. Experiment with using more or less water for more vibrant or muted effects. Once you’re satisfied with the base coat, flick speckles of paint over the leaves with an old toothbrush. Let the filters dry before cutting out the leaf shapes. Full instructions can be found
here.
Wrapped Wheat Sheaves
One of the more unusual DIY projects we’ve seen, this simple idea would be a fun party activity. Your guest will enjoy making and displaying these dried wheat stalks wrapped with colorful embroidery floss. Bunch three to five dried wheat stalks together. Tie a knot with embroidery floss on the stalk and wrap the floss around it. Cover about 2 inches of the stalk with the floss, and then tie another knot to finish off. Place each stalk in a clear jar and trim the bottoms so the top of the sheaf is even. See the
photo here.
Banner of Thankfulness
Create a banner to hang on or over your door. Choose a word, such as Autumn, or Thankful, and cut the letters out of colored felt squares. Glue each letter to canvas in a contrasting color. Cut around each letter, leaving a small border. With pinking shears cut out a strip of small triangles and glue them on to an edge of the letter with the points facing in. Attach the letters to a length of ribbon or twine. See the project
here.
Elegant Gold Leaves
This is one of those Thanksgiving crafts for adults that’s easier than it looks. You’ll need gilding adhesive, sheets of gold leaf and metal leaf sealer, available from craft stores. Gather dried fall leaves that are fairly flat. You can flatten them further between the pages of a book. They should be completely dry. Apply a thin layer of adhesive to the surface of the leaves and let dry. Then apply gold (or aluminum or copper) leaf with a brush. Finish with a layer of sealer. Add names, messages or quotes to the ungilded areas. See the finished leaves
here.
Harvest Door Swag
Instead of a wreath, hang up a handmade bouquet of dried fall flowers. Look for flowers or foliage in the garden that are dry or will dry well. You can also add items such as dried artichokes, lotus pods or eucalyptus branches available at craft stores. Start with a base of foliage and add the large items next. Then add medium-sized and smaller pieces for texture and depth. Use twine or floral tape to hold everything together and add ribbon for the finishing touch.
Here’s the project inspiration.
Leaf Bowl
You’ll need a large balloon, artificial fall leaves and Modge Podge Stiffy (available at craft stores) for this project. Blow up the balloon and place it tied side down in a bowl. (If you don’t have a balloon, you can also cover a large bowl in plastic wrap to get the shape you need.) Paint the Modge Podge Stiffy onto both sides of a leaf and press it onto the balloon (or outside of the bowl), layering leaves on top of each other until the entire surface is covered in a bowl shape. Let it dry completely, preferably overnight. Carefully and slowly deflate the balloon (or peel away the bowl shape).
Here’s what your bowl should look like.
Leafy Table Runner
Here’s a project using colorful construction paper that’s fun for kids. Draw leaf shapes onto pads of paper (lined is fine) and cut them out. You’ll need between 150 to 300 leaves, roughly 4 inches in length, so it makes sense to cut them in stacks rather than one at a time. Have family members write messages on the leaves for what they’re thankful for. Fold the leaves in half lengthwise to give them some dimension. Cut a roll of kraft paper to the length of the runner for your table. Attach the leaves to the paper surface using glue dots. More details on this project can be found
here.
Wooden Tea Light Holder
If you’re handy in the woodshop (or know someone who is), this project will be a snap. Find a nicely shaped log from a fallen tree. Soak it in bleach water to kill any insects. Let it dry completely. Using a mitre saw, cut the ends off and sand smooth. Measure to the center of your log. Use a 1.5-inch bit to make a hole that would fit a tea light, to a depth of about ½ inch . Drill more holes along the log at regular intervals. See
step-by-step photos and make
matching candle holders too.
Woodland Bouquet
While you’re out walking and enjoying the crisp fall air, keep your eyes peeled for fallen branches of foliage, pretty leaves and dried wildflowers. Gather them and place them in a sturdy vase or other tall container. Tuck in some stalks of wheat or late-blooming flowers, and you’re done.
Book-Lover’s Wreath
Cut out 3-inch-wide maple leaf shapes from pages of old books (or photocopied pages of a favorite book). You’ll need about 100. Cut out another 100 maple leaves from construction paper in fall colors. Craft scissors that give you a deckled, rippled or torn edge are a nice touch here. Attach book leaves on top of paper leaves with hot glue. Attach each pair to a 16-inch wreath form with hot glue, layering and overlapping as you go.
Here’s what it looks like.
Do you love working on DIY projects to make your own decor and gifts? Then you’ll love our fully stocked arts and crafts studio! Everything you need is all organized in one large crafting room, ready for you to make your idea come to life. Learn how you can stay inspired when you choose independent living at South Port Square.


